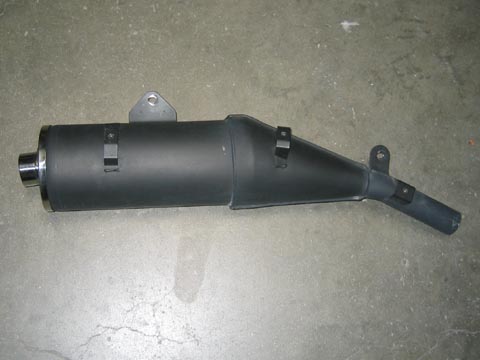
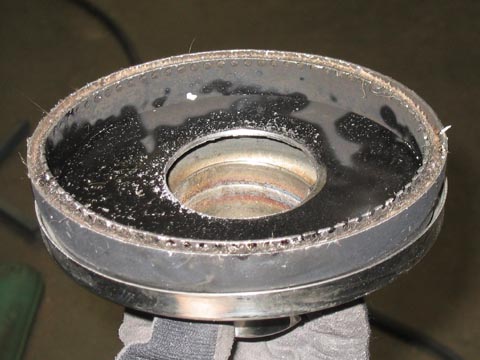
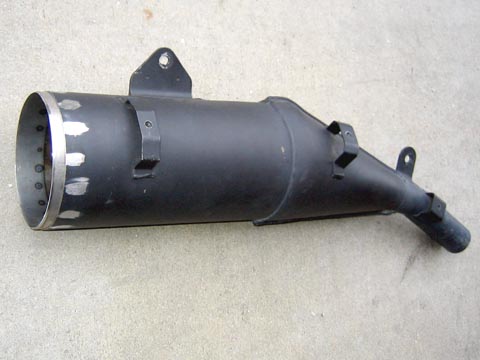
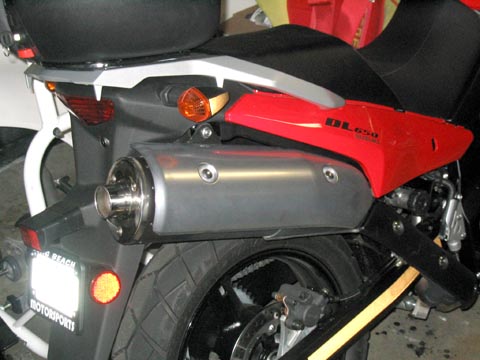
How To Turn Your Vstrom Muffler into A Slip-OnWhy? I liked the look of the stock muffler, but didn't like riding a motorcycle that sounded like a lawn mower. Also, I have access all the equipment and materials to do the conversion. NOTE: Not for the unskilled or ham fisted What you need (and where to get it): -Stock muffler to convert (yours or someone else's) -Core from a Yoshimura muffler x2? (get from Yoshi or find a dented can on ebay for cheap) -26sq/in x .0075" x 24" SS mesh (McMaster ~$8) -Refractory ceramic insulation (McMaster $38 .5"x24"x25') -SS safety wire (?) -Sheet metal -SS rivets How its done: This is what the muffler looks like before the conversion. The first step is to mark the line to cut. Having already done the conversion, I would suggest leaving a little more room than I did. I would suggest cutting the muffler .5" from the bend near the end cap.
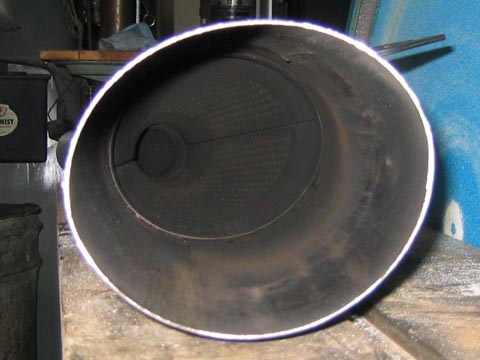
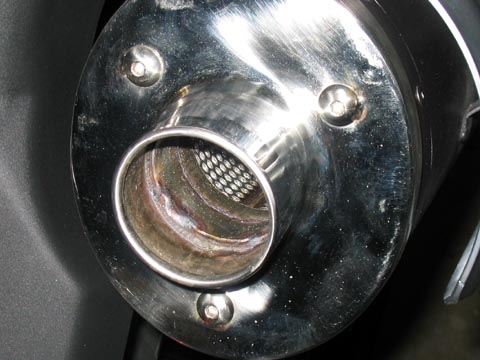
This is what the muffler looks like after the end is cut off. You can see that "drill holes" just punches into the main muffler chamber and does not really bypass all that much. The hole furthest to the right connects the inlet to the main chamber, the bottom one connects the mid to the main chamber. The one that goes to the tip connects to the mid chamber. Note that this muffler is also double walled.
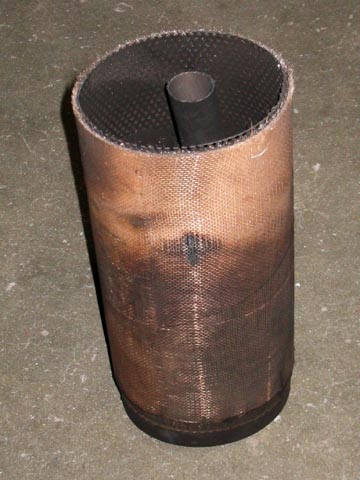
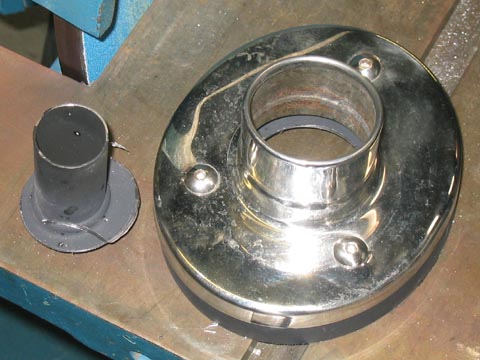
Since the muffler is double walled,the catalysis/chamber section just pulls out. The tapered section has additional double wall insulation.
This is the catalysis/ chamber section.
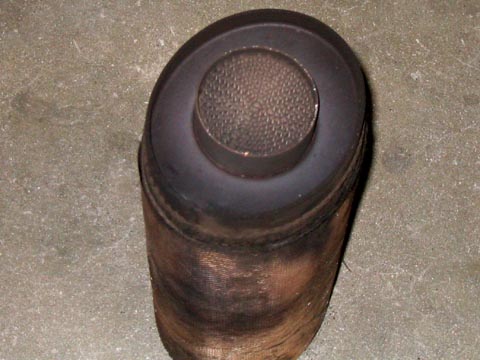
The Vstrom's cat, not very big.
The end cap need to be drilled out, I happened to have a hole drill that exactly matched the sleeve that I had. In my case it was a 51mm hole saw.
The real tip, and the faux tip (the better looking one)
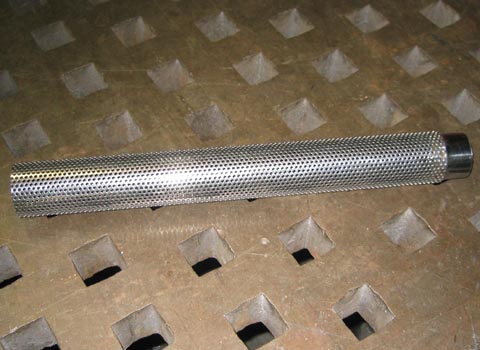
This is the perforated core that this muffler will be built around. The coupler end is welded to the perforated tube. To separate the two, I used a large sander to slowly remove material until all I had left was the transition piece.
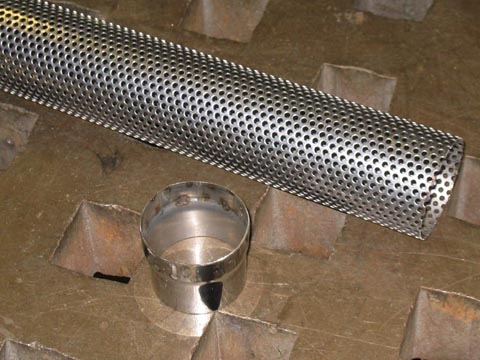
The two separated, I thought I was going to use the ends off both cores, but I didnt. The end piece was then stuck into the old tip and welded up. I only tacked the sleeve to the tip, I then polished the strawing off.
Since you want to put the muffler back together, you need to create a flange. I bent the metal on a slip roll and rosette welded the flange to the can.
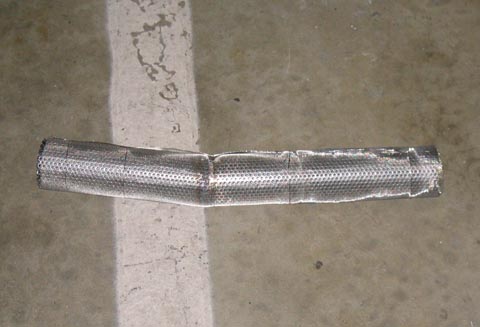
Now comes the tricky part, the core. I decided to make the core run the longest length I could. The core runs from the tip, then makes a slight bend and the other end is held by the taper of the cone section. The bend is such that the core is centered throughout the length of the run. The core section is then wrapped in the stainless steel mesh and held in place by the stainless safety wire. This material protects the packing and keeps it from blowing out. You could alternatively use SS steel wool. I did not do this because the material was $40 for the smallest pack that was what I needed. Another approach would have been to cut a piece of sheet metal to fit inside can and butt up against the lip created by the double wall cone section. The open cavity might help save the core material by smoothing out the pulses. This approach would also be easier to make, and you might not need 2 cores. I doubt it would be any more restrictive than the stock setup.
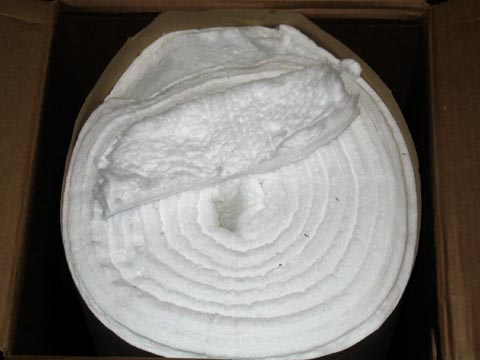
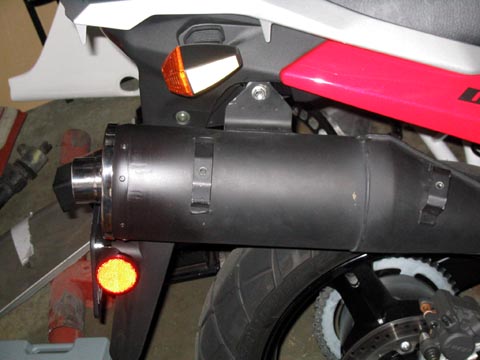
The next step is to wrap the core in insulation and stuff it in the can. I wrapped it a little larger than the can and used gentle force to convince it into the can. I then drilled and riveted the end on, and painted it flat black. It is very important that you wear gloves and a dust mask when handleing the ceramic material since its not good for you, and it will make you itchy like fiberglass.
This is what the muffler looks like put back on the bike, soo stealth. As for how it sounds, AWESOME!! The best part is that it keeps the great stock look, but sounds like a Ducati. The goldish stuff on the blinker and swingarm is nikkolite black reflective material.
|